If you’ve ever wondered how to apply plastic edging to plywood, you’re not alone. The process is not as difficult as you might think. With a little practice, you’ll have a smooth, even surface. It also protects your project from the elements.
Edge banding protects from the elements
Using edge banding is a good way to protect plywood from the elements. The banding is usually made of a material such as PVC or wood and has an adhesive that binds the edges together. This type of banding is available in many different types and is relatively easy to apply. It is also very durable and improves the quality of plywood.
Using edge banding will improve the durability of plywood and protect it from damaging elements like termites. Many professionals recommend using this type of protection on all of their projects. Without edge banding, plywood can develop a rough edge that is easily attacked by termites, which can spread to the whole material.
It is easy to apply
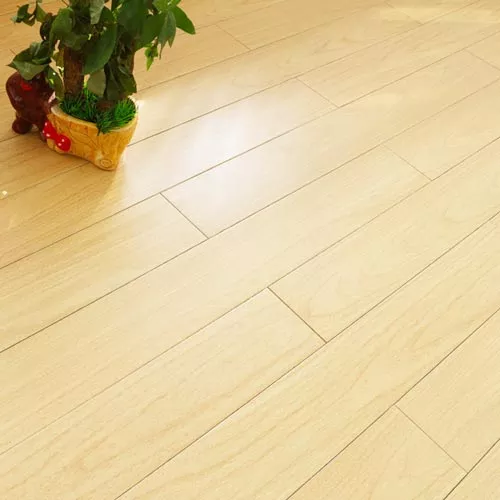
Plywood is a versatile material that can be used to create a variety of furniture and cabinet designs. It’s a strong board that’s also environmentally friendly. Because of its many uses, it’s important to protect its edges. There are several methods you can use to cover the edges of your plywood furniture.
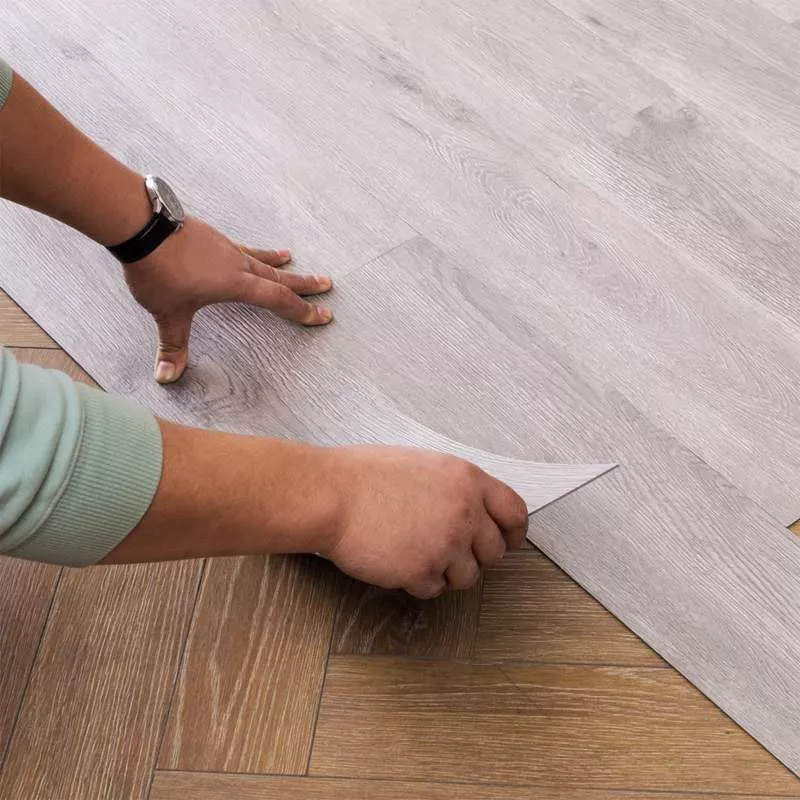
The first step is to glue the edge of the plywood. Make sure that you spread the glue on the entire plywood edge with a piece of wood.
It is easier to smooth than wood filler
Wood filler is an option that can be used on unfinished wood furniture. It can also be used to fill in scratches and gouges. Wood filler is also suitable for use on wood tabletops. Before applying wood filler, the wood surface must be sanded smooth. Once dry, wood filler can be painted or stained.
Wood fillers come in either a water-based or a solvent-based formula. Water-based fillers are typically faster to dry and less smelly. They are also easily cleaned up. If a water-based filler is too thick, you can dilute it with water. Solvent-based fillers, on the other hand, have a strong odor and can take an hour or more to dry.
It is inexpensive
Plastic edging is one of the most inexpensive types of edging. It typically costs between $2 and $5 per 50 feet. However, it can be difficult to place properly, so you may want to hire someone to do the installation for you. You can also get it with stakes so you can easily secure the edges to the ground.
You can also find more than one roll of edging at a time. When you install multiple rolls, use connectors. Slide one connector onto the end of each roll and push it down so it’s attached to the next piece. You can also install stakes every five feet to anchor the edges. Place them next to the edging, with the pointed end pointing downwards. You can then hammer them into the ground with a mallet to anchor them.
It is available in a variety of colors
Decorative PVC edging has a wide range of options to match the decor of any home. It can be found in several colors and can be easily glued in place. It is also available in various lengths. If you don’t want to use glue, you can also choose from different color options and textures.
PVC Edging is the best choice for decorative surfaces as it is extremely durable and easy to apply. It provides a smooth and seamless finish and gives the appearance of reliable materials. It is easy to install and maintain, and is ideal for residential applications. It also prevents moisture from penetrating the exposed board edges.
It is easy to trim
Adding a PVC edge banding to plywood is a simple way to improve its appearance. This edge banding is usually sold in rolls and is available in a variety of wood veneer or PVC colors. It is easy to apply, with a thin layer of adhesive secured with an iron.
Once the plywood has been glued, you can trim the edge banding to remove the excess. You can also add shims to prevent the banding from cutting the plywood through the edge. The thickness of the shims should be equal to the thickness of the banding. This will keep the trimmer from cutting too deeply.