Learn how to iron on edge banding and save time and money! These products are easy to apply and remove, and are especially useful for the trim job. Listed below are some helpful tips:
Easy to apply
If you want to apply an attractive edge banding to your kitchen cabinets, you may be wondering how to do so easily. In reality, the process is simple, even for a novice. The first step is to clean the surfaces you’re using for edge banding. A 7/8″ wide strip of melamine edge banding is available in a square format. You can use a hot air edge banding machine to apply the banding. To level uneven surfaces, you can use coarse-threaded screws that are available in sizes 12, 15, 18, and 25mm. Once applied, you don’t need to sand the surface or to use a glue gun.
The second step is to cut a strip of edge banding that is a quarter-inch longer than the panel’s length. Using a sharp knife or a mallet, cut a strip of edge banding roughly one-inch longer than the panel’s length. If the banding is too long, fold it in half and strike it with a hammer. Then, inspect the edge banding carefully for splice lines. Splice lines are random marks that appear on each roll. They are mostly invisible once you apply a clear coat, but you may notice stains if you’ve used dye-stains.
Easy to remove
If you are looking to install a new edge banding around your existing plywood, you may be wondering how to remove it. There are two basic methods. One way is to use a table vise to apply it to the edges. Make sure the banding is wider than the plywood thickness. This will prevent glue from seeping into the veneer or slipping off the edge. Another method is to use a finger to apply the edge banding to the edge of the plywood.
Another method involves using heat to loosen the adhesive. Heat can soften the Edging, so use a blow dryer or clothes iron to heat the area. You can also use a putty knife to lift the edge. It will take a few tries to get it off, but once it’s removed, you’re ready to replace it. If you haven’t tried this method, don’t despair. You can find special products that will clean plastics like acrylic on the market.
Easy to sand
If you want to add beautiful, finished edges to your wood projects, you may want to learn how to sand plywood edges. You can purchase edge banding in various colors, widths, and lengths. To cut the banding to the desired length, you can use an edge trimmer. Once you have finished trimming the banding, you can use 120 or 220-grit sandpaper to sand the edges.
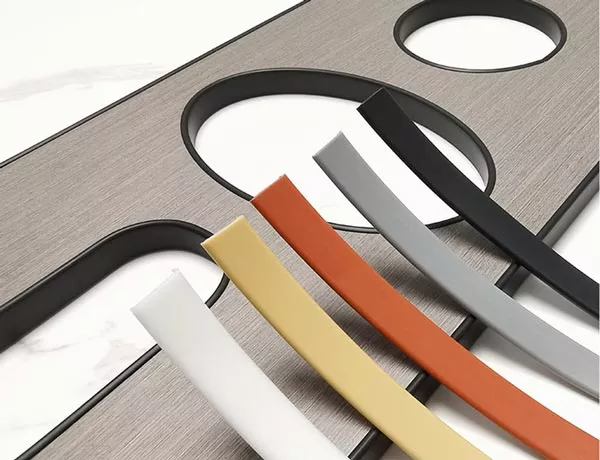
Depending on the type of wood you are working with, you can choose from almond, white, or black edge banding. Some edge banding is also available in glue-less or peel-and-stick varieties, so that you can apply it and then remove it again. After several tries, you’ll find that edge banding is a relatively simple task. However, you should take your time and follow directions carefully.
Easy to trim
The traditional method for removing overhanging edges from solid wood cabinets is to use a hand plane or cabinet scraper. However, the use of a router table will save you time and effort. It is important to note that using the chisel to trim the edge banding is not an alternative to using a router. Both methods are effective in getting the job done. One way to trim overhanging edges is to hold the chisel edge against the panel and hammer it with a mallet. A router table is an excellent choice if you plan to make several cuts on the edge banding.
The edge banding should be cut a bit longer than the width of the plywood panel. Use a sharp chisel or knife edge to make the cuts. You may want to use an iron to help the adhesive warm up before you begin trimming the excess edge banding. Be sure to work with the grain of the plywood to ensure a clean cut, but you should also be careful when applying a clear coat to prevent dye stains from penetrating the edge banding.


Leave a Reply
Want to join the discussion?Feel free to contribute!