How to Cut Edge Banding and Apply It to Plywood

This article will discuss how to cut edge banding and how to apply it to plywood. Once you have edge banding installed, you can proceed to trim it by using a block plane and sandpaper. Be careful not to cut towards the banding, as this can loosen it and leave it unapplied. Use the sandpaper to reach inside corners. Now, you can apply the banding to your plywood.
Gluing edge banding
If you’re planning to use glue on your edgebanding project, you should follow some simple tips. To ensure that your edgebanding adheres well, make sure that you have enough glue applied to the banding. The glue should cover the entire width of the banding. If it doesn’t, here are some reasons why it might not stick properly. If you’re doing it by hand, you should follow the instructions on the packaging carefully to prevent bubbles or gaps.
Trimming excess edge banding
If you want to improve the appearance of your home’s furniture, you should know how to trim the excess edge banding. To achieve this, it is necessary to have a finely shaped woodwork and sharp edges. Although edge banding trimmers are generally used by professionals, you can learn how to use one to achieve the same effect. Here are some tips to follow:
Trimming overhanging edges
Trimming overhanging edges flush with the plywood surface is difficult if the veneer is thin. To prevent tearing, use a trimmer with edge banding and shimming on both cutting sides to ensure that the blades don’t cut through the veneer too deep. To avoid deep cuts, use an iron to add shims to the edges of the trimmer. It’s important to leave a gap where the blades meet.
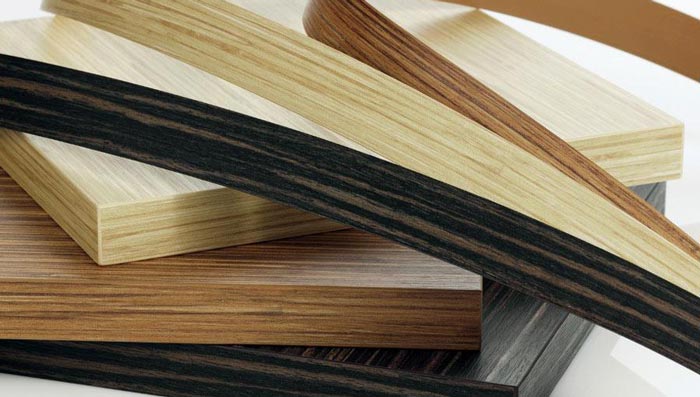
Applying edge banding to plywood
If you have ever built something out of plywood, you might have wondered if edge banding would be worth it. While the material is a great choice for cabinets, boxes, and shelves, a raw plywood edge can take away from the excitement of finishing the project. Edge banding prevents this problem and makes plywood look like a solid piece of wood. There are a few steps to applying this type of finish, but the benefits are worth it.
Using a router bit set
An Edge Banding router bit set allows you to create the look of real hardwood edge bands on your woodworking projects. This set works on a variety of materials, including plywood, particle board, MDF, and hardwood stock. The bit must be centered on the stock to ensure a precise fit. Typically, these bits are 3/4″ to 1″ thick and will cut a flush edge band.
Using a table saw
There are two basic methods of cutting edge banding on a table saw. The first is the v-groove method, which uses a v-shaped bit in combination with a specialized router bit set. This method is more effective because it produces a smooth and strong joint. While the v-groove joint is stronger than iron on veneer, this method is less accurate. Using a v-groove bit makes the process easier.
Using an edge banding trimmer
An edge banding trimmer can quickly and easily cut edge banding. With four carbon steel cutting edges, this trimmer cuts both edges in one pass. Unlike traditional trimmers, which use springs to cut in a single direction, the edge banding trimmer can cut multiple layers of edge banding in one pass. It is ergonomically designed to allow you to easily reach tight corners and edges.


Leave a Reply
Want to join the discussion?Feel free to contribute!