PVC decorative film has become an essential material for interior designers, furniture manufacturers, and DIY enthusiasts alike. This comprehensive guide walks you through every step of the installation process, from surface preparation to final finishing touches, ensuring professional results every time.

Step1: Surface Preparation

- The foundation of any successful PVC film application lies in meticulous surface preparation.
- Begin by thoroughly cleaning your substrate – whether wood, metal, or glass – using isopropyl alcohol to remove all traces of grease, dust, and contaminants. For porous surfaces like MDF or plywood, apply a primer coat to ensure optimal adhesion.
- Pay special attention to edges and corners, as these areas are most prone to lifting. A perfectly prepared surface should feel smooth to the touch and show no visible imperfections when examined under angled lighting.
Step2: Measuring and Cutting Techniques
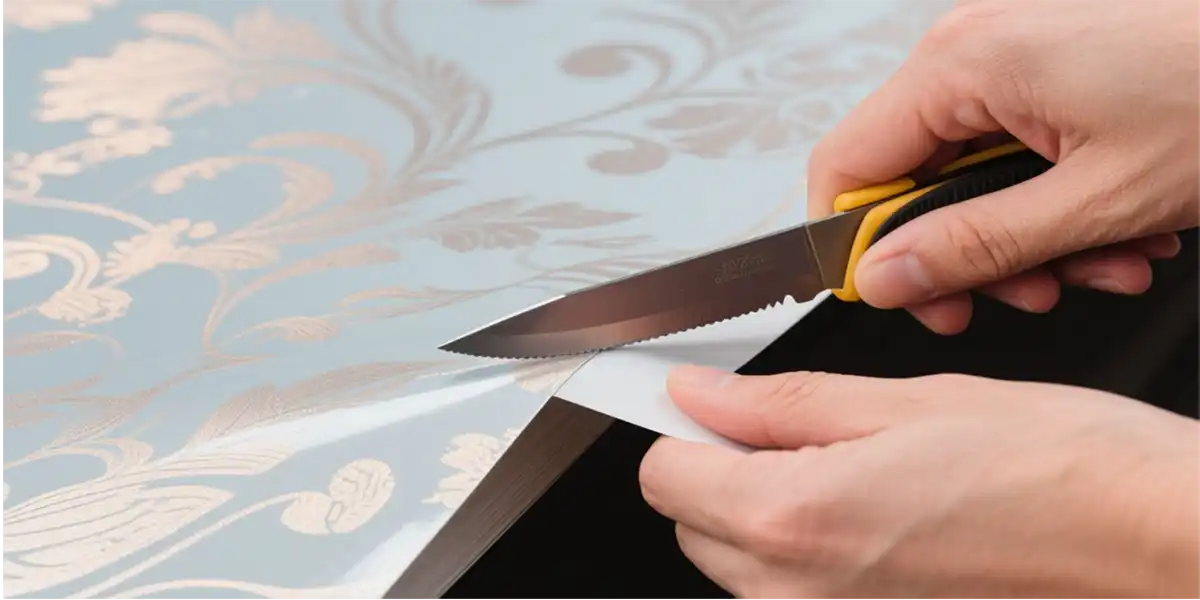
- Precision is paramount when working with PVC films. Always measure twice and cut once, adding a 5-10cm margin to accommodate any adjustments.
- For patterned films, carefully plan your layout to maintain pattern continuity across seams. Use a sharp utility knife with a fresh blade for clean cuts, changing blades frequently to prevent tearing.
- When working with embossed textures, cut with the textured side up to better visualize the final appearance.
Step3: Application Methods
Our PVC decorative film is divided into two types, self-adhesive and non self-adhesive. Their installation methods are different.
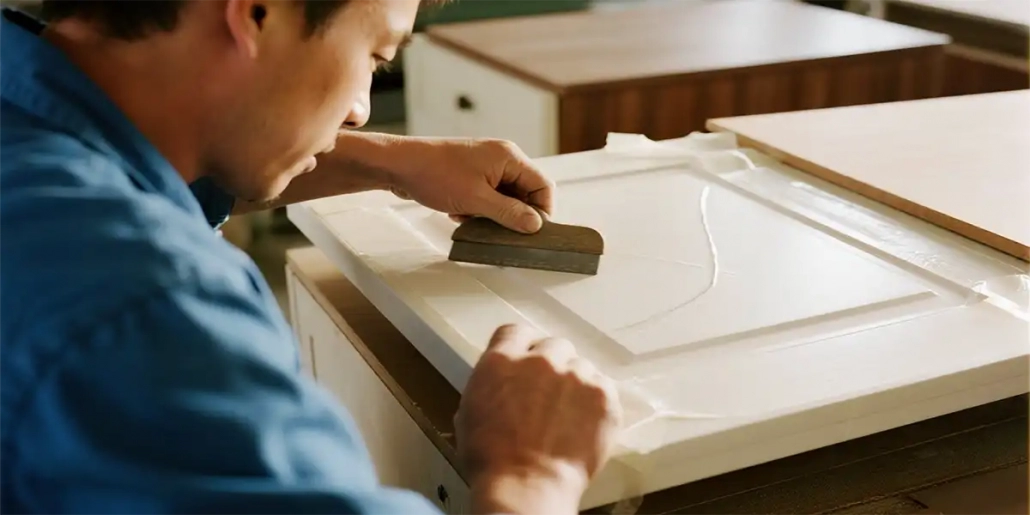
1. Self-Adhesive PVC Decorative Film (Ideal forflat, small surfaces ,g., cabinet doors):

2. Non-Self-Adhesive PVC Decorative Film(Ideal for irregular or large surfaces,g., walls, columns):
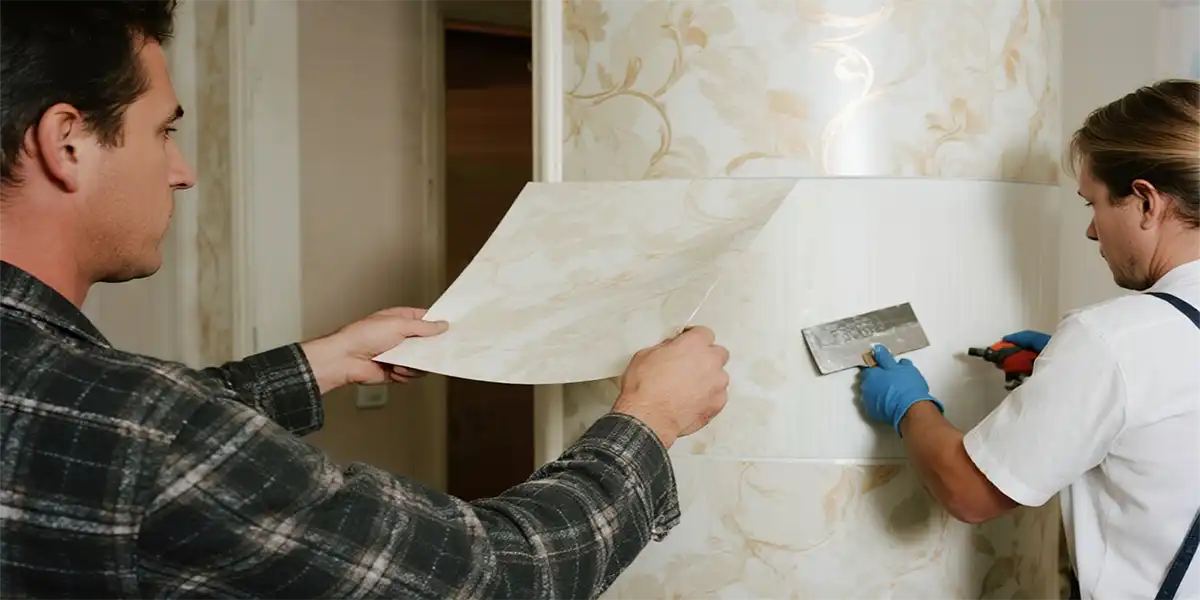
- Apply special adhesive (e.g., universal glue or PVC-specific adhesive) evenly on both the base surface and the back of the film using a notched trowel for controlled application.
- Let the adhesive dry until tacky (not sticky to touch but slightly adhesive, usually 5–10 minutes).
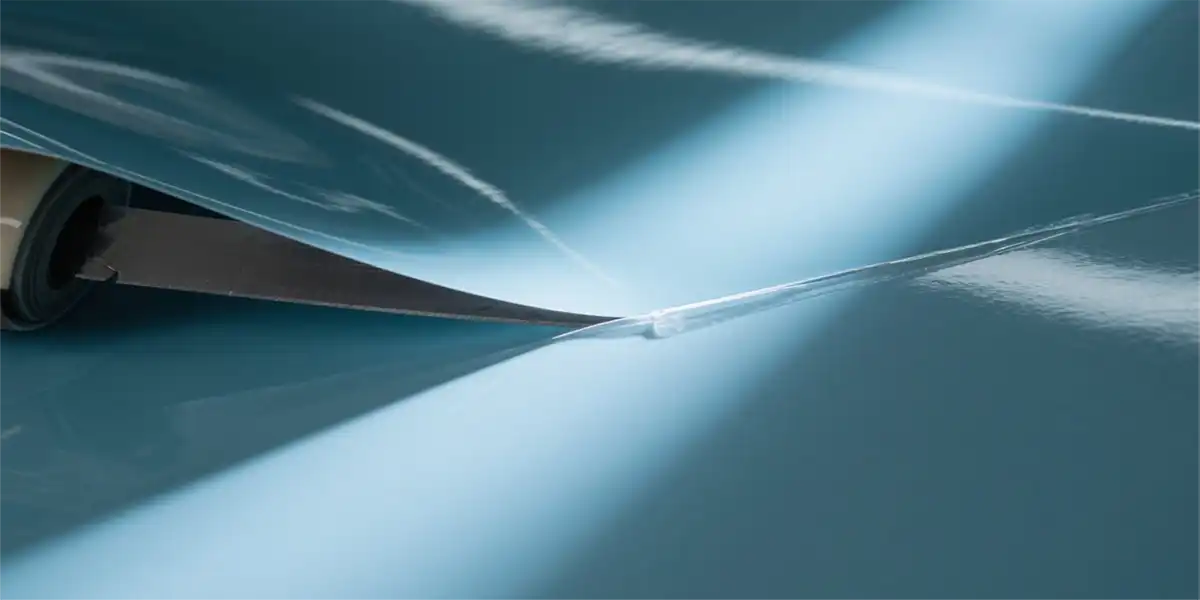
- Two people should work together to lay the film slowly from one end, using a squeegee to remove air bubbles.
Step4: Professional Finishing Techniques
- Trim excess material along the edges with a utility knife, and promptly wipe away any adhesive overflow with a damp cloth.
- For inner corners, heat and soften the film (using a hair dryer) before fitting it into place.
Step5: Curing and Long-Term Maintenance

- Avoid water contact or vigorous scrubbing within 24 hours after installation.
- Avoid placing hot items directly on the surface, as temperatures above 70°C may cause permanent deformation.
Troubleshooting Advanced Issues:
- For smallbubbles: Use a specialized bubble eliminator needle to release trapped air without damaging the surface.
- For Large bubbles:Carefully peel back the film and press it down again to eliminate trapped air.
Conclusion
Mastering PVC decorative film installation requires patience, proper technique, and high-quality materials. By following these professional methods, you can achieve showroom-quality results that withstand daily use while maintaining their aesthetic appeal.
Remember that each project presents unique challenges – don’t hesitate to consult with manufacturers for technical support on specialized applications. With practice, you’ll develop the skills to handle even the most complex installations with confidence.


Leave a Reply
Want to join the discussion?Feel free to contribute!